Each shift has a Shift Status. The Shift Status defines where that shift will show on the Web Portal if it is empty/unallocated. For information on setting up Shift Statuses, click here.
In order to publish shifts to the Web Portal, their Shift Status will sometimes need to be changed in the View Rota/Rota Manager screen.
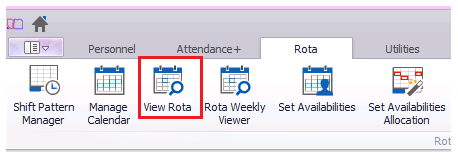
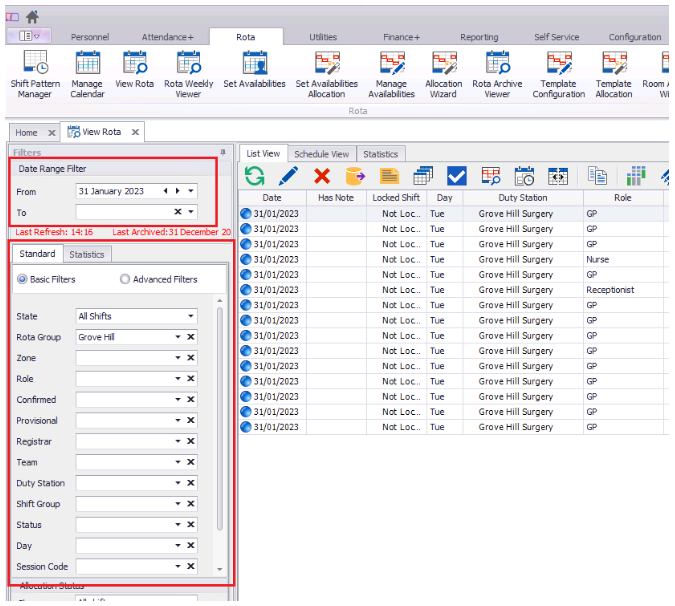
To do this, go to Rota > View Rota;
Select the appropriate filters on the left hand side to display the relevant shifts;
To change the status of one shift, double click on the shift, select the Shift Details tab and select the appropriate status from the Status dropdown.
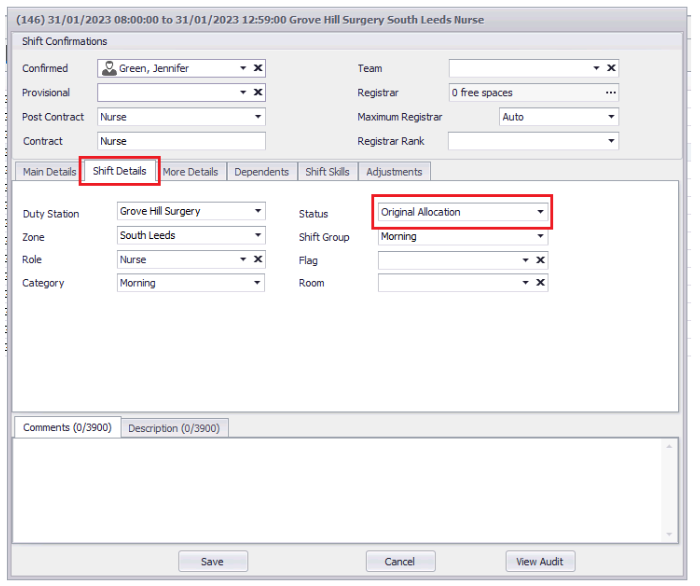
Click Save. This shift can now be uploaded to the web using Quick Upload.
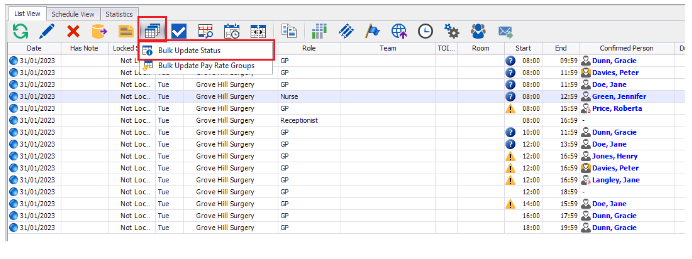
To change the status of multiple shifts at once, click the Bulk Update button in the top toolbar and select Bulk Update Status:
This will open the Bulk Update Status screen. Select the Date Range (this will pull from the Date Filter in the View Rota screen) to change statuses for. Then, select an option from the Options section;
- All Shifts - the status of every shift in the specified date range in the selected Rota Group will be updated
- Shifts with No Provisional/Confirmed Allocation - the status of any shifts without a Confirmed OR Provisional person will be updated
- Shifts with Team or Provisional Person Assigned...- the status of all shifts with No Confirmed Person will be updated
Select the From and To statuses. The system will only change shifts with a current status of the From status.
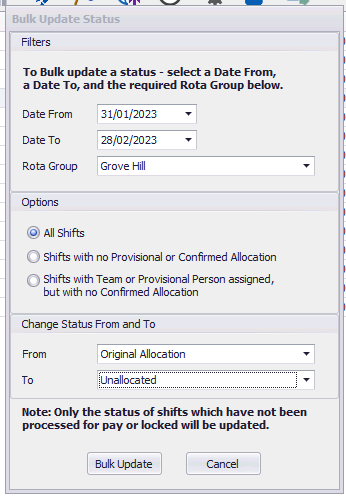
Click Bulk Update. This will update the status of all shifts within the selected view.
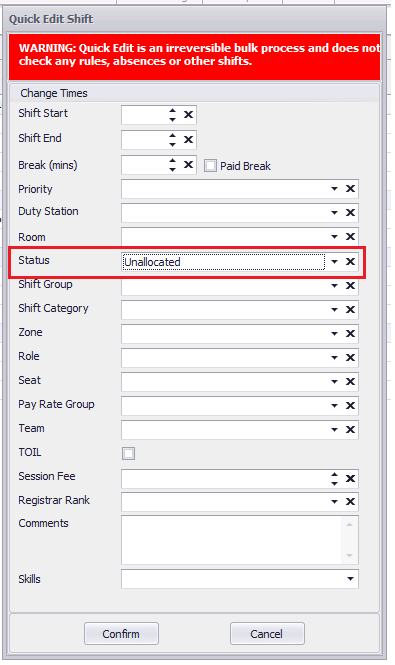
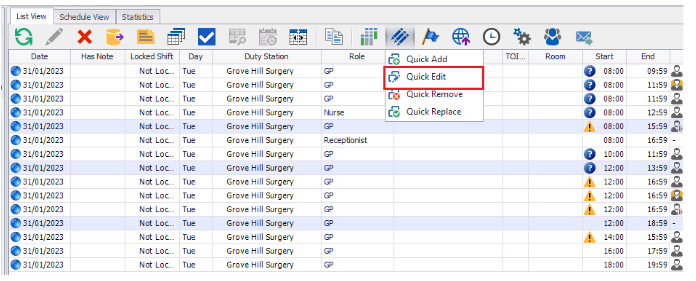
The Shift Status can be changed for multiple select shifts by using the Quick Edit function. To use this function click and hold Ctrl and select your relevant shifts, these will highlight in blue. You can then select the 'Quick Edit' icon:
This will show the below box, select the status you would like to change the selected shifts to and press 'Save':