Creating Shifts
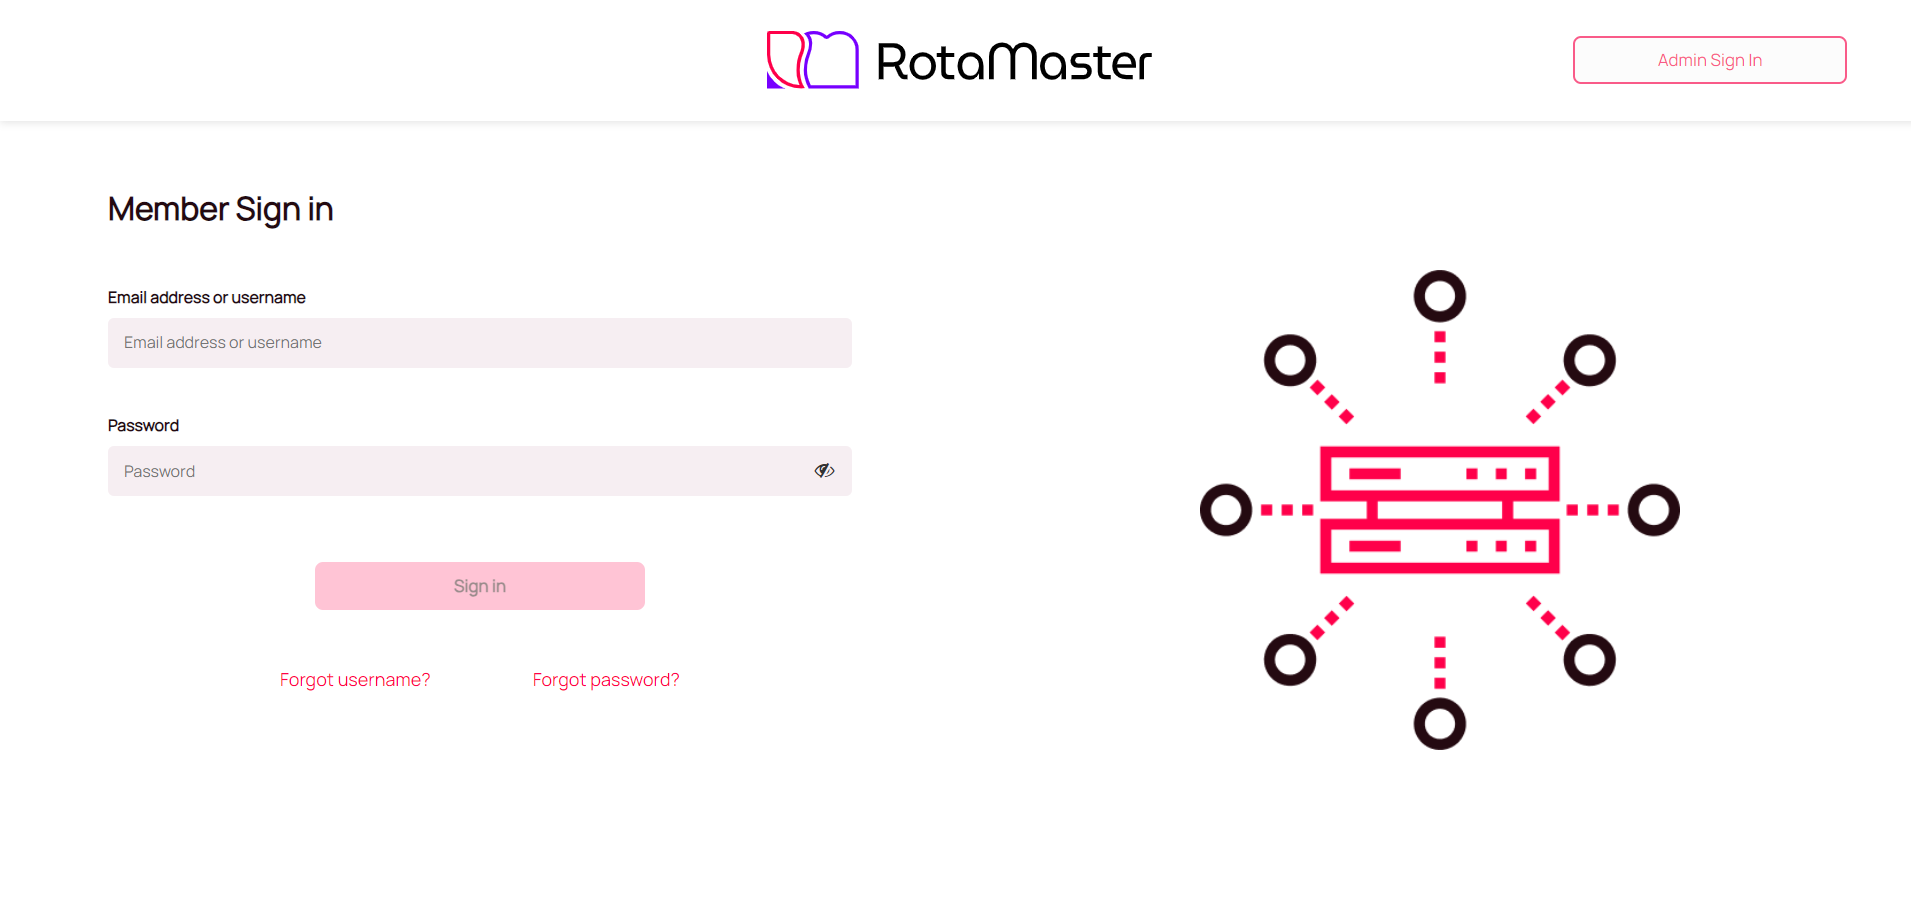
To create Bank Shifts go to your Admin Hub by typing in your company’s web address e.g. example.rotamasterweb.co.uk and you will be brought to this screen:

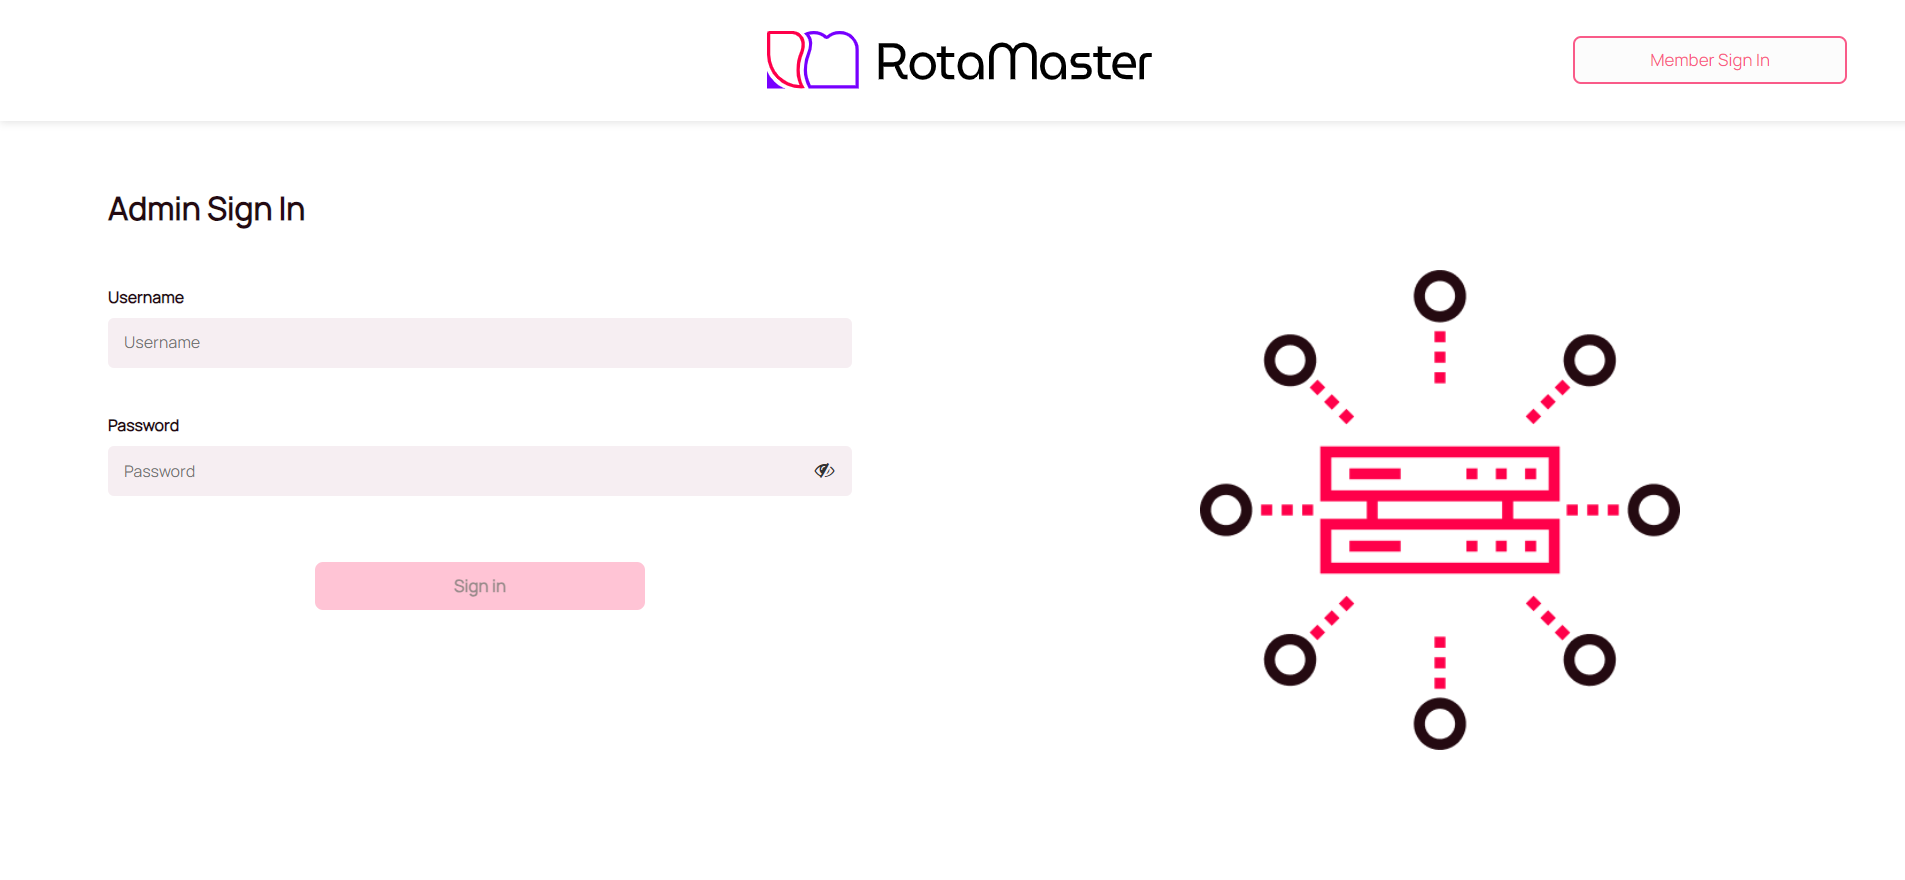
Click on Admin Sign In button in the top right corner and enter your RotaMaster login details on the next screen:

Once you have logged in use the menu on the left hand side to go to Web Booking> Bank Shifts:

This will take you to the following screen:

Use the filters to input the details for your shift – please note the only Roles, Zones, Duty Stations, Priority, Shift Groups and Skills** that will be available are ones that have been flagged as Bank on RotaMaster. Any default Shift Groups, Shift Categories and Zones will be automatically populated on this screen.
**Please note, Skills in Bank Shifts have to be enabled by RotaMaster. If you would like this feature to be active please contact our support team at support@rotamaster.co.uk
The value entered at this point will refer to the value of the shift, if the staff member working the shift has a Pay Rate Pattern assigned to them then these will be taken into consideration. Values for shifts can be turned off by going to Content Mgt>Member Settings>Rota Settings:

A description can be added to a shift to detail any information you want to pass on to the customer.
The booking deadline will allow you to add a date and time for when the shift expires and is no longer available to book.
If you want to make the shift recurring then toggle the 'Make Recurring' setting to 'Yes', you can set the parameters for the recurring shift once you hit Create Shift:

Once you have submitted the correct details press Create Shift.
If you have chosen to make your shift recurring you will see the following box:

Select the recurrence Pattern and Range then click 'Create Shifts'.
Your created shift(s) will then appear under Unpublished Shifts at the bottom of the screen:

Publishing Shifts
Shifts have to be published for staff to be able to view and book them. To publish shifts select the relevant shift(s) and click 'Publish Selected Shifts':

Viewing Published/Unpublished Shifts
There are two toggle buttons available at the top of this table. The first one allows you to toggle between the Published Shifts and Unpublished Shifts tables. By default, when shifts are created they will be unpublished and so will be shown in the Unpublished Shifts table. When shifts are published, they will move to the Published table - these are the shifts that are visible for staff to book into.
The second toggle button allows you to filter shifts so you can either see shifts created by yourself (this is the default) or shifts created by other people. It is important to note that you may still not see all shifts that have been created. If a shift has been created for a zone or duty station that is blacklisted for you, it will not be visible to you.
Shifts can be deleted using the red cross at the end of the row.
If you want to restrict the number of shifts a staff member can book in an x hour period then go to Rota>Rota Settings>Edit Team>Web Settings and set the relevant options:

Emails
Once a shift has been published Bank Staff members receive an email informing them there is a shift available to book on their Staff Hub. Once a shift has been booked an email will be send to the practice manager who set up that shift. Filled shifts will show under the Published Shifts section of the Admin Hub:
