Flags are visual icons that can be added to shifts, either by default in Shift Pattern Manager or on a shift-by-shift basis to allow easy identification of particular information for shifts.
❕ They do not impact your shift duration; value; who can work them or any other detail, and are purely a visual tool.
Configure Flags
To configure flags in your organisation, navigate to Rota > Rota Settings > Flags.
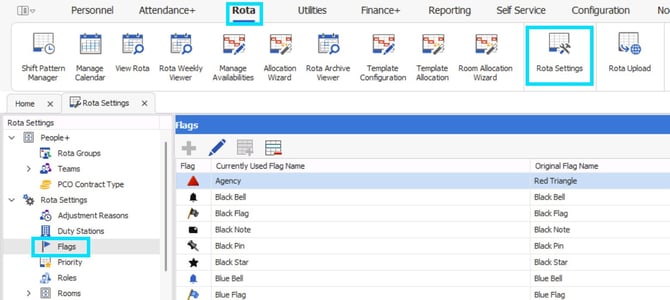
Here you will see 57 flags, each with a unique icon. To rename a flag to something more descriptive and specific for your rota, either double click the flag or select the 'blue edit pen'  .
.
On this screen you will be able to rename your flag, and click 'Save'.

Adding Flags to Shifts
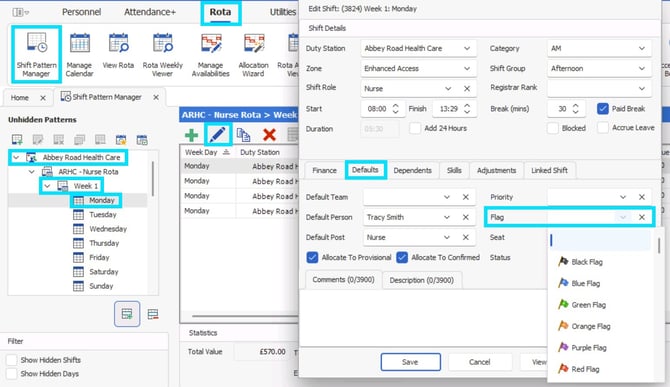
To add flags to shifts by default, navigate to Rota > Shift Pattern Manager, edit a shift within your pattern; select the 'defaults' screen and choose a 'flag' from the dropdown menu, click 'Save'. This shift will then always have a flag applied until it is removed from the 'defaults'.
Alternatively you can manually add flags to one or multiple shifts in any of the rota views as a 'one off'. First, click your shift (💡 select multiple-shifts by holding the CTRL key on your keyboard and clicking multiple shifts) and selecting the 'flag icon' in the toolbar.

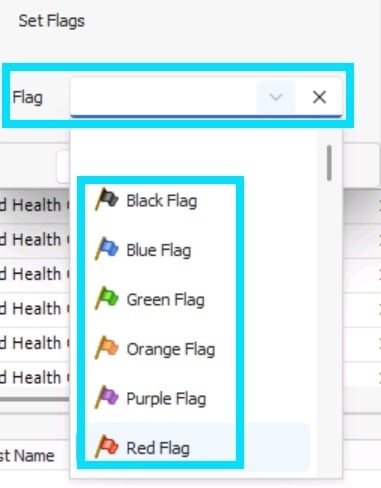
Select a flag and click 'Save'.

Viewing Flagged Shifts
Once you have assigned flags, you can view & filter them by looking at the flag column:

💡 The flag column may be far to the right of your 'view rota' screen if you have not used this column before. Simply drag & drop columns to re-order in a way that makes most sense and is of most benefit for you. Each administrator can order columns for your own personal view.

🚩Any flags assigned to shifts will also be visible to staff on Staff Hub.