Uploading to the Web in RotaMaster performs a number of functions;
- Uploading shifts to the Web Portal for staff to view and book into.
- Uploading a range of future shifts for staff to log their availability for on the Web Portal.
- Updating the status of shifts. If a shift is changed from Original Allocation to Unallocated in RotaMaster, an upload is required for this change to be reflected on the Web Portal. Quick Upload can also be used in this instance.
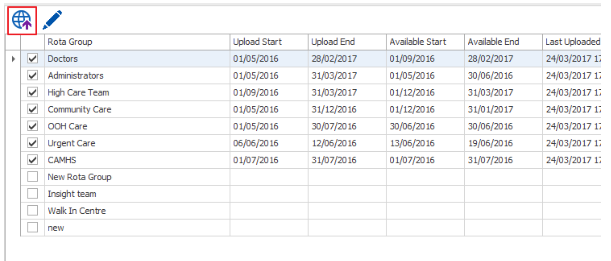
To upload to the RotaMaster Web Portal click on the Rota Upload button as below and the following window will be displayed:

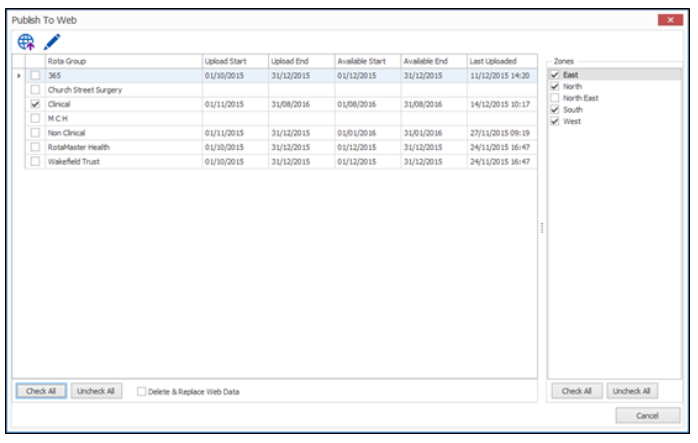
To publish the rota/availability dates to the web, follow these 5 steps:
- Select the Rota Groups to publish by ticking the corresponding tick boxes next to the Rota Group.
- Set the dates for each Rota Group by double clicking on the Rota Group. The Edit Dates window will be displayed where users can amend dates for the Availability period and the Live Rota period to be published.

Select the date ranges and click Save.
|
Upload Start |
The start date of the live rota/web booking shifts which employees will see on the Web. |
|
Upload End |
The end date of the live rota/web booking shifts which employees will see on the Web. |
|
Available Start |
The start date of the shifts that employees are going to be able to log their availabilities |
|
Available end |
The end date of the shifts that employees are going to be able to log their availabilities |
|
Last Uploaded |
The last time the Rota was uploaded to the web. |
- On the right hand side, ensure that the appropriate Zones are ticked.
- The Delete & Replace Web Data tick box should be selected when an incorrect period has been uploaded and the user wishes to add the correct period whilst at the same time removing the incorrect period.
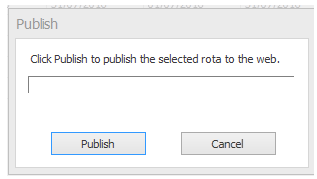
- Click on the Publish to Web button to begin the upload process.
Click Publish;
The upload will then take place. Once it is complete, the following will be displayed.
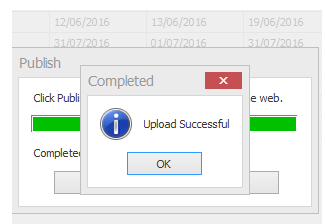
Click OK.
The upload is now complete.