How to create a Role Group
If you have members of staff who work more than one role in your organisations, then you need to create and assign them a role group. This article explains how to create the role group, click here to find out how you assign a role group to a staff member.
You will find the Role Group screen under Personnel > Role Groups.
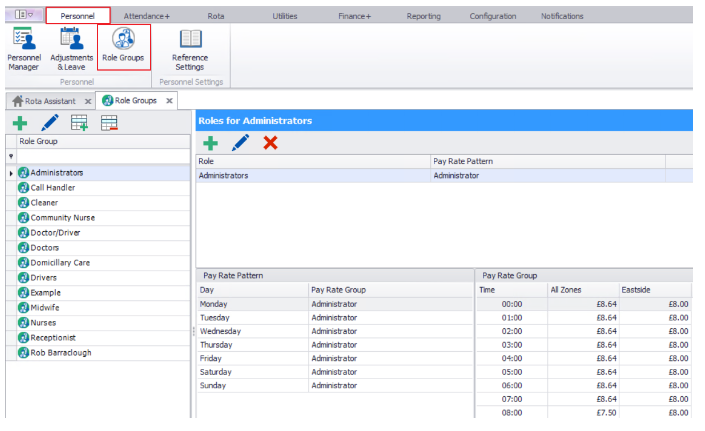
Once on this page, click on the green plus button  to add a new Role Group. The following box will then appear:

Here you name the Role Group so it can be identified in a list of other Role Groups. Once the name has been entered click Save and you will see the following box:
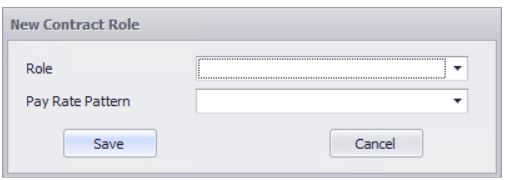
Here you need to select the default role for the Role group and then select a Pay Rate Pattern for the role (Optional). For more information on how to build a Pay Rate pattern, click here.
Once you've filled in the Role and Pay Rate Pattern, click Save.
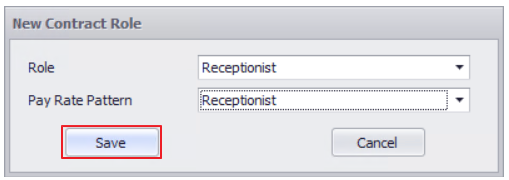
Once you've clicked save, you'll be taken into the Role Group and see the following screen:
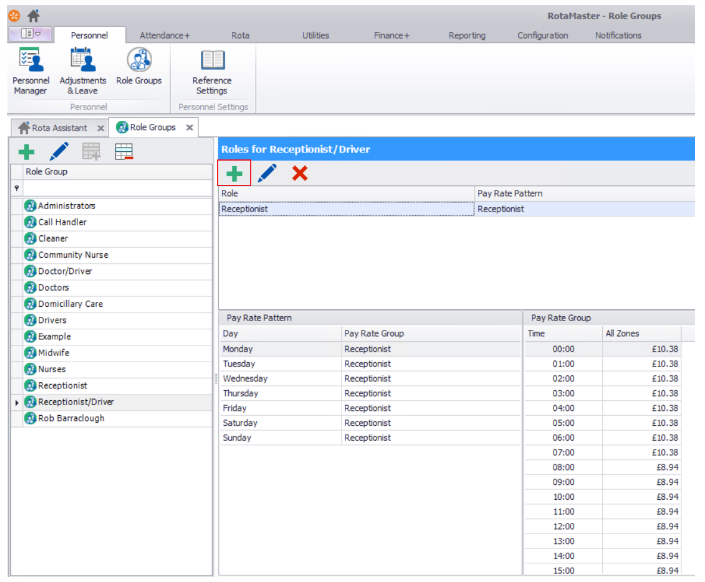
Click on the highlighted green plus to add an additional role and you'll again see the following box:
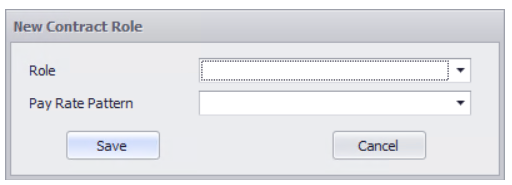
Add the additional Role and Pay Rate Pattern and click Save.
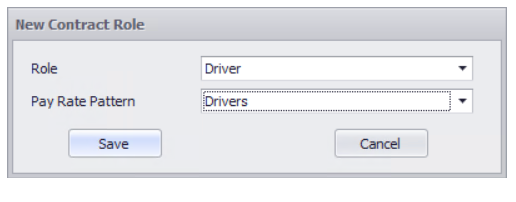
You will then be taken back into the Role Group, where you'll be able to see the different roles that have been added.

You can repeat this process as many times as you need to create the relevant role group.