Web Bookings allow staff to log onto NetMaster and either book directly into or request shifts.
To get your system set up to use Web Bookings follow the following steps.
1. Turning Web Bookings on for your Rota Group
Go to Rota>Rota Settings>Rota Groups and edit the Rota Group you want to turn Web Bookings on for. Then navigate to the Web Settings tab and make sure the 'Show the Page' and 'Show Zones tab' boxes are ticked. 'Requires Blank Team' means only shifts with no Default Team will be available for Web Bookings and 'Required Blank Provisional Name' means only shifts with no Provisional Person will be available.

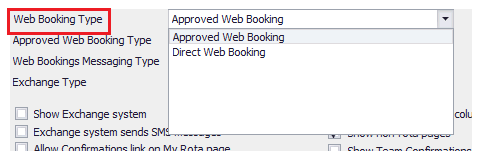
Next choose what type of Web Booking you want. You can choose from either:
Approved Web Bookings - Staff request shifts and admins have to approve or deny the request before the shift is filled
Direct Web Bookings - Staff can directly book into shifts with no admin approval
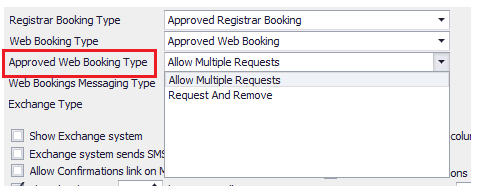
If you have chosen Approved Web Bookings you will then be able to choose between:
Allow Multiple Requests - Multiple people can request the same shift and admins can choose who they want to work the shift
Request and Remove - Only one staff member can request a shift, if it is then denied the shift will be re-uploaded for others to request.
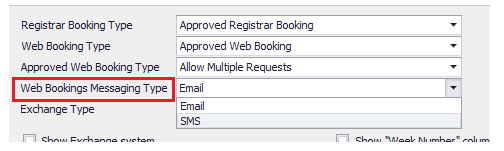
You can also choose whether you want your staff to receive Email or SMS confirmation for their booked shifts. The default setting for this will always be email.
2. Setting Admin Email Alerts
If you want to receive email notifications when a staff member has booked into/requested a shift go to the Net Master Email Tab in the Edit Rota Group Box and enter the relevant email address(es) into the Web Bookings box by pressing the "...":

When you're finished press Save to save your settings and close the window.
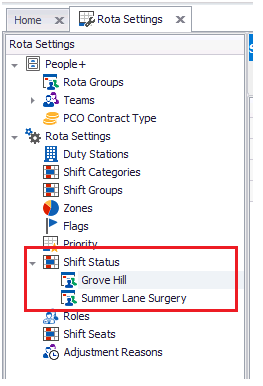
3. Shift Status
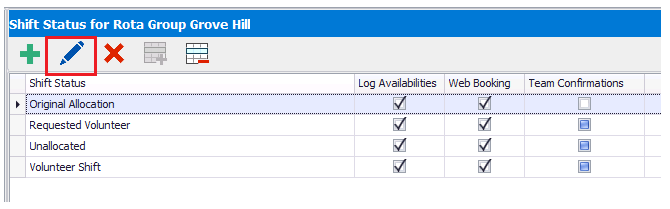
Navigate to Rota Settings>Shift Status and select your Rota Group:
Here you will need to ensure that the box for Web Bookings is ticked for the Original Allocation Status. To to this select Original Allocation and press the blue edit pen:
Make sure 'Show in Web Booking page' is ticked and press Save:
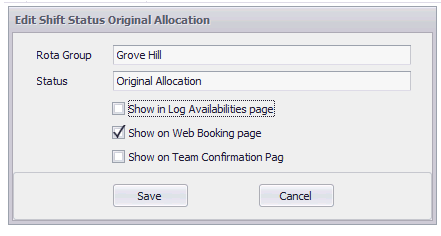
This will ensure any shifts rolled out from your Shift Pattern Manager will be uploaded to Web Bookings.
If you want to turn Web Bookings off for certain Teams within your Rota Group please go to the next step. If not, please proceed to step 5.
4. Turning Web Bookings on/off for certain Teams
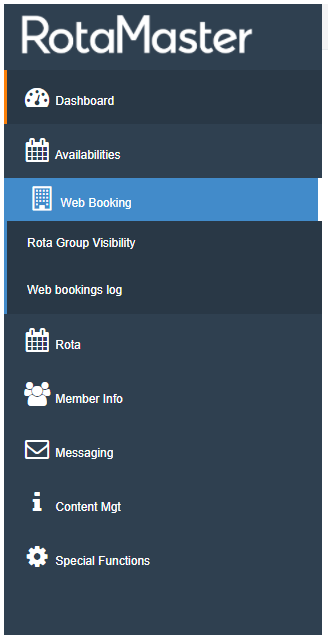
To do this log in to the admin side of the web portal (for help logging in please click here) and go to Web Booking>Rota Group Visibility:
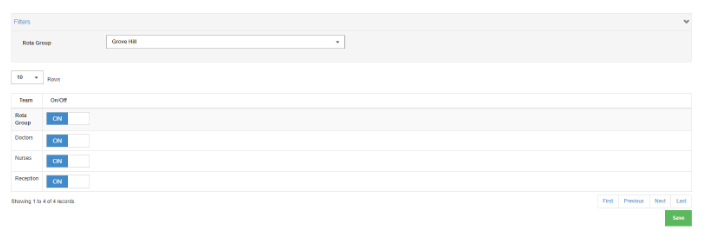
Here you will be able to select your Rota Group and choose which Teams you want to have Web Bookings turned on/off for:
5. Uploading Shifts to the Web
Once you have rolled out your Rota and changed any settings needed you will now need to upload your shifts to the web. To do this go to Rota>Rota Upload on RotaMaster. Select the Rota Group you want to complete your Upload for and press the blue edit pen:
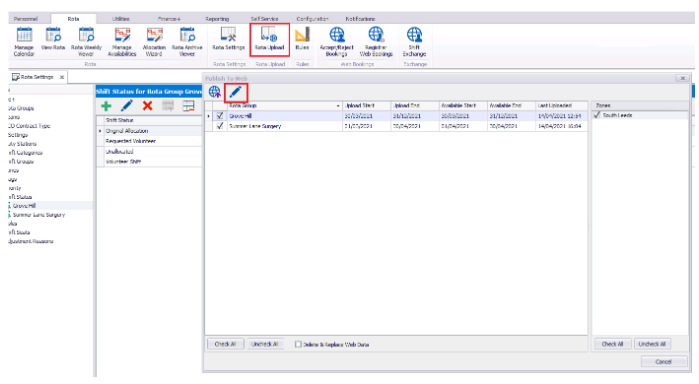
Make sure the 'Live Rota Date Range' from and to dates are set to cover the time period you want to upload. The from date will dictate how far in the past your staff can view their Timesheets and the to date will dictate how far in the future your staff van view and book shifts:

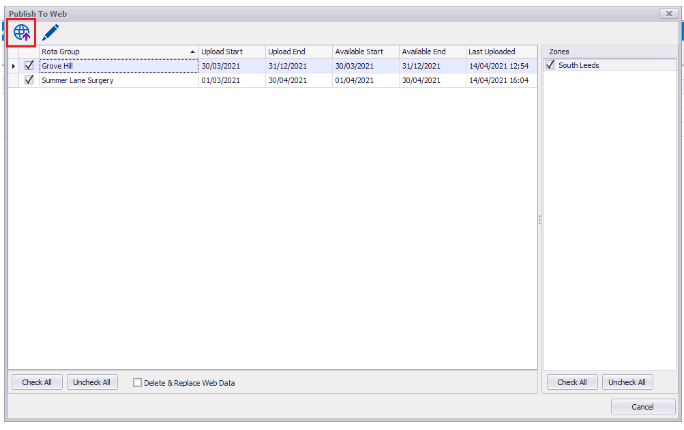
Then press 'Publish to Web':
6. Approving/Declining Web Bookings
If you are using Approved Web Bookings you will need to approve/decline any requests that come in. To do this go to Rota>Accept/Reject Web Bookings and use the filters to choose what requests you want to view. NB the date range refers to the date of the shift, not the date the booking was made.

You will then see any shifts that have Web Bookings requests on the right hand side:
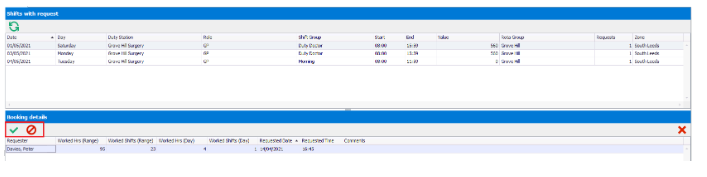
Select the shift you want to fill and approve/decline the person you want working the shift using the highlighted icons. For more help approving/declining web bookings please click here.