The Availability Allocation Wizard fairly allocates shifts using availabilities staff members have logged on NetMaster. This method of allocation can be used in conjunction with Web Bookings to fill in any gaps in the rota the Allocation Wizard hasn't been able to fill.
To set your system up to use Availabilities please follow the below steps.
1. Turning Availabilities on for your Rota Group
Go to Rota > Rota Settings > Rota Groups and edit the Rota Group you want to turn Availabilities on for then navigate to the Web Settings tab, here make sure the 'Show the Page' box is ticket under Availabilities:
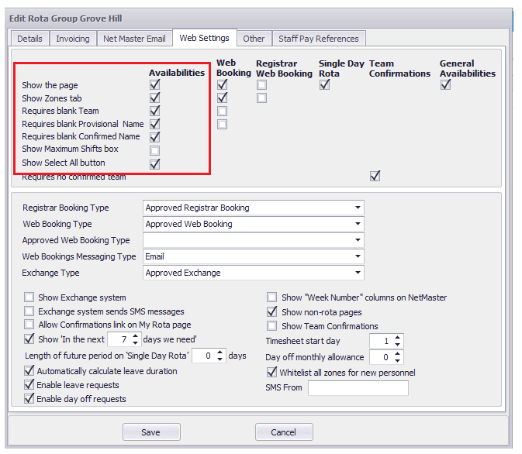
The other options under Availabilities are:
Show the Zones tab - This will show a tab enabling staff to filter shifts based on Zone
Requires blank Team - Only shifts with no confirmed Team will be available for allocation
Requires Blank Provisional Name - Only shifts with no Provisional Person will be available for allocation
Requires Blank Confirmed Name - Only shifts with no Confirmed Person will be available for allocation
Show Maximum Shifts Box - Will show staff what their max shifts per allocation will be (set up in Personnel Records)
Show Select All Button - Allows staff to select all shifts in the current view
If you want to use Web Bookings in conjunction with Availabilities then follow this guide for help setting them up here.
2. Setting Admin Email Alerts
If you want to receive email notifications when a staff member has logged their availabilities then navigate to the NetMaster Email tab and enter the email address(es) you want to be alerted for this Rota Group by pressing the '...' in the box:
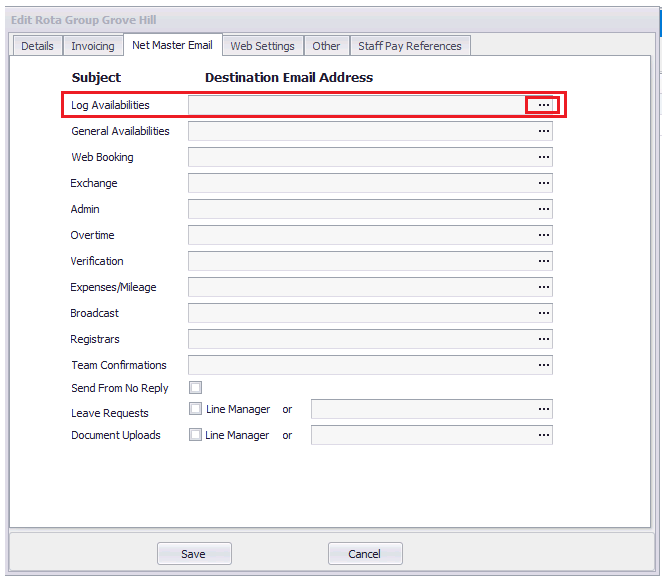
When you're finished press 'Save' which will close the Edit Rota Group window
3. Shift Status
Navigate to Rota Settings>Shift Status and navigate to your Rota Group:

Here you will need to ensure the box for Log Availabilities is ticked for Original Allocation and the box for Web Bookings is ticked for Unallocated. This means that any shifts you roll out from your Shift Pattern Manager will show in Log Availabilities on NetMaster and any shifts that are unfilled after your Allocation Wizard run will show in Web Bookings:

These settings are changed by double clicking on the Shift Status you want to edit.
4. Turning Availabilities on on NetMaster
Log into Admin NetMaster (for help with this click here) and navigate to Availabilities>Switch On/Off. Here you will see a list of your Rota Groups, make sure Availabilities are turned on for all relevant Rota Groups and press Save:

5. Uploading shifts to the web
Once you have rolled out your Rota and changed any settings needed you will now need to upload your shifts to the web. To do this go to Rota>Rota Upload on RotaMaster. Select the Rota Group you want to complete your Upload for and press the blue edit pen:
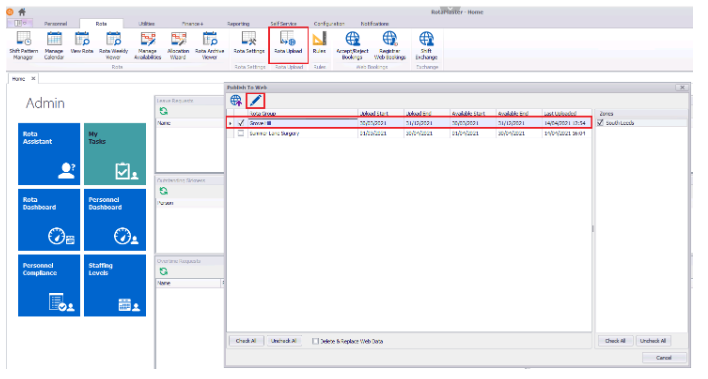
Make sure the 'Availability collection date ranges' from and to dates are set to cover the time period you want to upload. The from date will dictate how far in the past your staff can view their Timesheets and the to date will dictate how far in the future your staff can vie and log availabilities for shifts. If you are using Web Bookings you will also need to make sure your 'Live rota date range' is set to the correct time period:

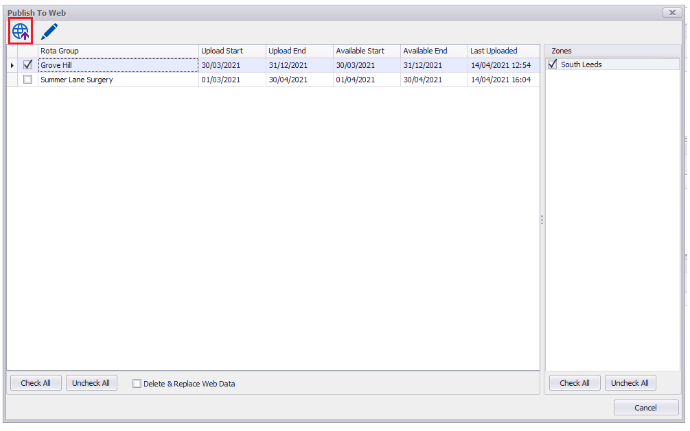
Then press 'Publish to Web':
6. Running the Allocation Wizard
Once your staff members have had chance to log their Availabilities you will be able to run the Allocation Wizard to allocate staff to your shifts. For help running the wizard click here.
7. Uploading shifts
Once you have run the Allocation Wizard complete a rota upload again, this will show staff what shifts they have been assigned and upload any empty shifts to the web bookings section of NetMaster.
For help approving and declining web bookings please click here.