Click here for details on the Personnel Allocation Wizard
Click here for details on the Registrar Allocation Wizard
The Availability Allocation Wizard provides is an automated, quick and fair shift allocation method.
It uses multiple targets and fairness rules to allocate shifts in a specific time period based on availabilities logged by staff on the RotaMaster portal.
NOTE: In order to use the Allocation Wizard to fill shifts in a certain time period there must be an existing calendar for that time period. See Creating a Calendar.
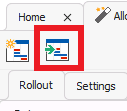
To run the Availability Allocation Wizard, click Rota > Allocation Wizard.

Then click the Create Proposed Allocation button, as shown below.
Select the allocation type of Availability Allocation and click Next.

Select a date range to run the Allocation Wizard for. The Lookback Date is used to define the start of the allocation period. This will usually match the start date.

Click Next.
Rota Group Settings
Select a Rota Group to run the Allocation Wizard for. Zone and Role are optional and can be used if the Allocation Wizard is only required to fill shifts for specific Zones/Roles.

Target Type Settings
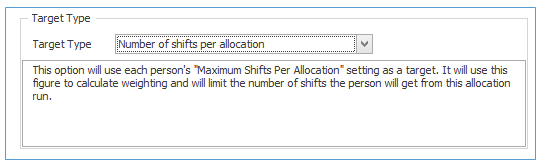
Then select a Target Type. This tells the Allocation Wizard which allocation target to aim for in the first instance. Each target is set in the Personnel Manager within each staff member’s Personnel Record under Rota > Rota Settings. The available target types are;
- Per Allocation
- Target Weekly Earnings
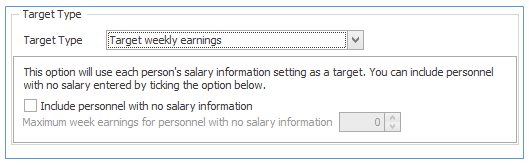
When using this setting, users can either choose to ignore personnel with no salary/weekly earnings target by leaving the tick box unchecked. Alternatively, they can tick the box and outline a generic target for all personnel with no salary information.
If a staff member has a salary recorded then their maximum weekly earnings will be that salary divided by 52.
If a staff member doesn't have a salary recorded but does have their target earnings recorded then their weekly earnings will be this figure divided by 52.
If the setting on the wizard for 'include personnel with no salary information' is ticked this will then set the weekly earnings for people with no salary and no weekly earnings.
Targets can be checked after running the allocation wizard by looking at the targets tab on the proposed allocation
Suggested use; Leave Weekly Earnings as 0 for Agency/Bank staff and leave the box unticked. This will ensure that only salaried/permanent staff are allocated shifts by the Allocation Wizard. Gaps can then be filled by agency/bank staff if required.
- Weekly hours
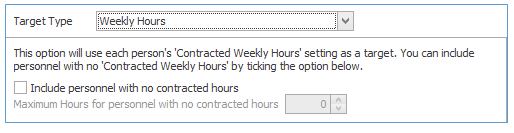
When using this setting, users can choose to allocate shifts to personnel with contracted hours by ticking the box and outlining a number of hours to allocate to those staff members. Leaving the box unticked will ignore those personnel.
Suggested use; Leave Weekly Hours as 0 for Agency/Bank staff and leave the box unticked. This will ensure that only salaried/permanent staff are allocated shifts by the Allocation Wizard. Gaps can then be filled by agency/bank staff if required.
- Contracted Hours (Period)
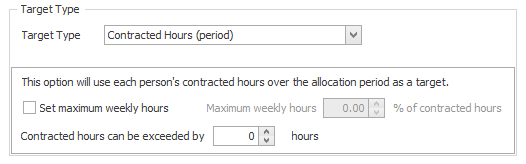
This setting differs from Weekly Hours because it averages out the contracted hours over the allocation period. Staff may be allocated more hours one week and then fewer hours the next to compensate.
The 'maximum weekly hours' setting is used to define the maximum hours anyone can work in a week and the 'contracted hours can be exceeded by' setting is used to say whether they can exceed the total amount of contracted hours over the period.
Suggested use: Staff need to average their contracted hours over a 4 week period. Staff can never work more than 20% of their hours a week and should not exceed their contracted hours for that 4 week period by more than 10 hours. Use this target type. Set the maximum weekly hours to 20% and the contracted hours can be exceeded by to 10.
Once a Target Type has been selected and the appropriate options selected, click Next.
This will prompt users to import the availabilities that have been logged by staff;
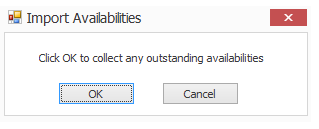
Click OK. This will automatically import any availabilities that have been logged on the RotaMaster Portal.
Shift Group Settings
The Shift Groups screen allows users to select whether to run the Allocation Wizard on all shifts groups at once, or just specified shift groups.
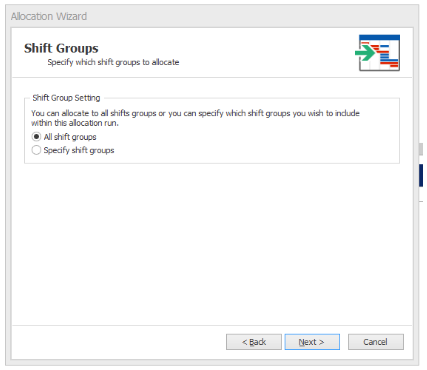
Select the appropriate option and click Next.
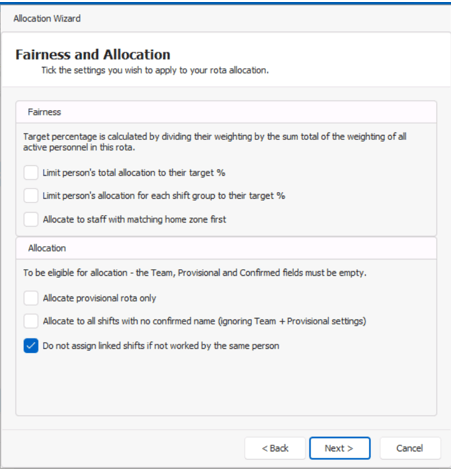
Fairness and Allocation Settings
On this screen, tick the options that are required.
|
Limit person’s total allocation to their target % |
If all Personnel Weightings are set to 1 and there are 10 shifts, each person has a target % of 10%. |
|
Limit person’s total allocation for each shift group to their target % |
If all Personnel Weightings are set to 1 and there are 10 shifts available in the Night shift group, for example, each person has a target % of 10%. |
|
Allocate Provisional Rota Only |
Will populate the Provisional Person field on the rota, but not the Confirmed Person. |
|
Allocate to all shifts with no confirmed name (ignoring Team + Provisional Settings) |
Will allocate Confirmed People to all shifts without a confirmed name, regardless of Team/Provisional settings. |
|
Include availabilities marked as processed |
This run will include availabilities that have already been considered by a previous Availability Allocation Wizard but not allocated. |
|
Do not assign shifts if not worked by the same person |
This will make sure any linked shifts are allocated only to the same person. |
Suggested use; Tick only Allocate to all shifts with no confirmed name (ignoring Team + Provisional settings)
Shift Status and Filters Settings
Please see the table below for a description of the function of each tick box.

|
Set all shifts that are allocated as ‘Blocked’. |
Any shifts that are allocated by the Allocation Wizard will be set as ‘blocked’. This means that they will not be uploaded to the web, regardless of their shift status. |
|
Set all shifts that are not allocated as ‘Unallocated’. |
The status of any unallocated shifts will change to ‘unallocated’. Depending on system setup, these shifts will then appear on the RotaMaster Portal for staff web bookings. |
|
Restrict to personnel whose primary rota group is Rota Group Name/Only Assign Team Members to shift |
Only staff with the shift's Rota Group/Team as their Primary Rota Group/Team will be allocated shifts. |
|
Count pre-allocated Blocked shifts towards their allocation. |
If any previous allocation has been done in this time period and those allocated shifts have been blocked, the system will count these shifts towards allocation targets. |
Spacing
When running the Allocation Wizard, users can choose to either use the minimum spacing (minimum number of hours between shifts for a person) outlined in each Personnel Record by ticking ‘Use minimum spacing set for each person’. Alternatively, users can set a single minimum spacing amount across all staff members in this allocation by leaving the box unticked and entering a number of hours in the Hours box.

Click Next.
Allocation Targets
Please see below for an explanation of each option.

|
Availability Priority – Higher |
If two people are in contention for a shift, the shift will be given to the person with the most availability logged in this time period. |
|
Availability Priority - Lower |
If two people are in contention for a shift, the shift will be given to the person with the least availability logged in this time period. |
|
Allocation Rate – Even |
The lowest targets (people with the least contracted hours, earnings targets or max shifts) will be met first. |
|
Allocation Rate - Percentage |
All targets will be met at an equal rate. |
|
Increase the maximum shifts per allocation by |
Number of extra shifts per allocation each person can have over and above the setting in their Personnel Record. |
|
Ignore person’s maximum shifts per allocation |
No cap on the number of shifts a person can receive. |
Click Next.
Allocation Priority
This will open the following window:
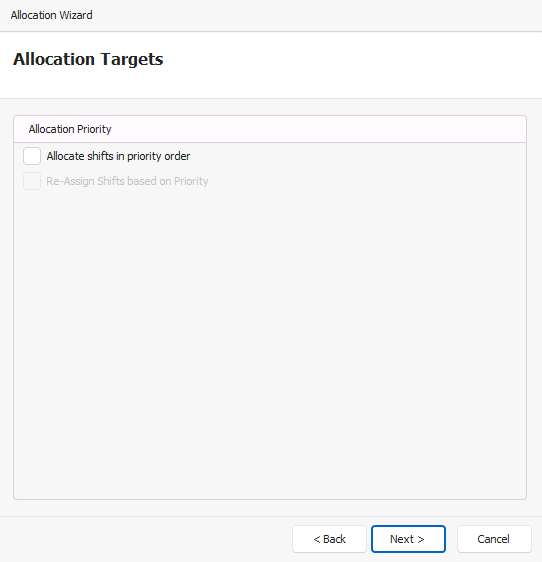
Here you will be able to select how, or if, you want to allocate your shifts based on priorities:
Allocate shifts in priority order: Ticking this will allocate shifts in Priority order, meaning RotaMaster will allocate shifts with priority 1 first, then priority 2, then priority 3.
Re-Assign Shifts based on priority: Ticking this will re-allocate shifts based on their priority by removing confirmed people out of lower priority shifts and assigning them to empty higher priority shifts. People will only be removed from shifts of the same shift category as the higher priority shift. Shifts with no priority will not be reallocated.
Click Next.
This will open the Run Allocation screen. Click Run Allocation.
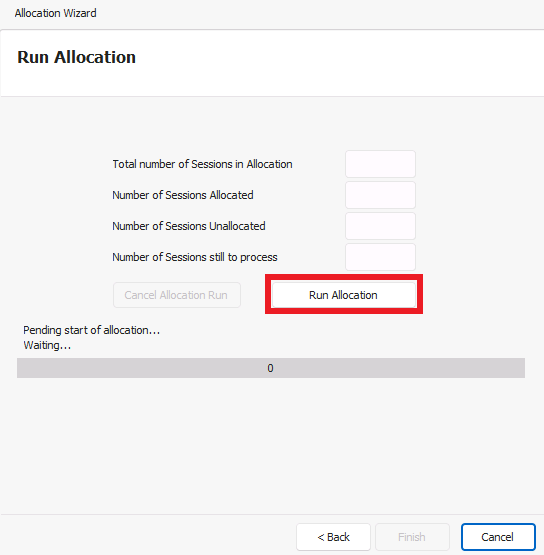
This will run the allocation based on the options outlined in the previous screens, as well as the rules and settings in the system.
When the wizard has finished, it will display the following dialogue box outlining the % of shifts allocated.
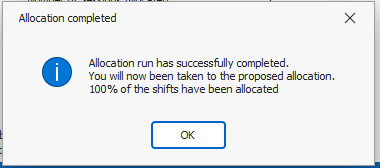
Click OK.
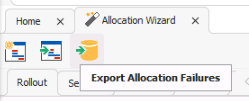
This will show the Proposed Allocation screen. This screen shows all of the shifts in the allocation run, the confirmed person suggested by the Allocation Wizard and the reasons that other personnel were not allocated each shift. This screen can be exported for reporting purposes.
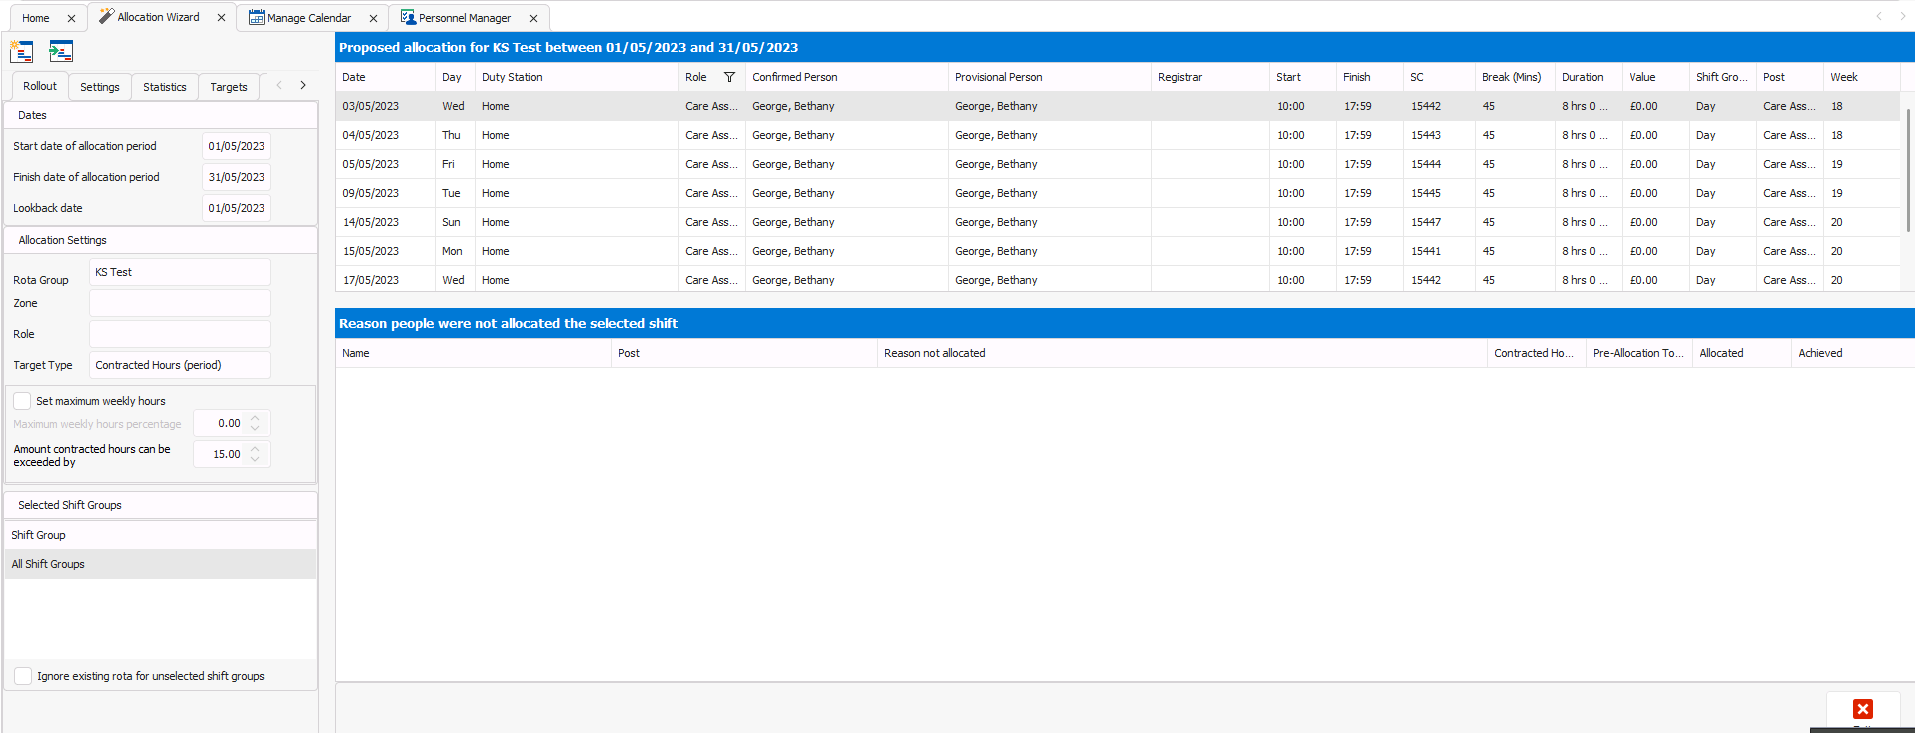
If the allocation that has been proposed is suitable, this can be rolled out to the live rota using the Rollout button;
If the proposed allocation is not suitable, users can review the options that were selected during the allocation run using the panel on the left hand side of the screen. The options are split into various tabs as seen below.

The Allocation Wizard can then be rerun with different settings using the Create Proposed Allocation button;