One of the most common methods of allocating shifts in RotaMaster is collecting staff availability via the RotaMaster Web Portal and then using the RotaMaster Allocation Wizard to allocate shifts to staff based on their availability and other system rules such as contracted hours and minimum spacing.
Click here for all of the allocation methods available in RotaMaster.
- The first stage in this process is creating a calendar of shifts. See Creating a Calendar to find out how to create a calendar.
Please Note - Only Shifts with a Shift Status that is set to send shifts to 'Log Availability' will be uploaded to the web for staff to log their availability for. See here for information on Shift Statuses. - From here, navigate to the Rota Upload screen, via Rota > Rota Upload;
 Double click on the Rota Group that you have created a calendar for and wish to now collect availability for.
In the 'Set Dates - ROTA GROUP NAME' box that appears, change the Availability Collection Date Ranges to the From/To date that you wish to collect availability for. Click Save and then click the Upload button and Publish to upload the shifts to the web;
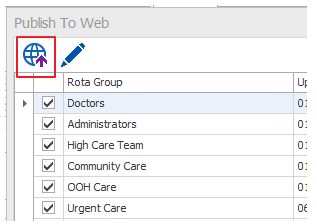
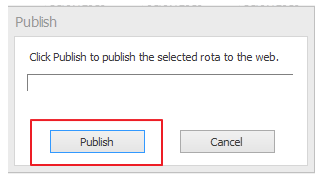
This will publish the selected date range to the web. For more information on Rota Uploads see Uploading to the Web. - Ensure that the Availability Logging function is switched on for the Rota Group in question in the RotaMaster Web Portal. See here.
- Staff access the RotaMaster Web Portal and log their availability for the sessions.
- Administrators switch off the Availability Logging function from the Administrator Web Portal (See here)
- Run the Allocation Wizard using the guidance provided here.